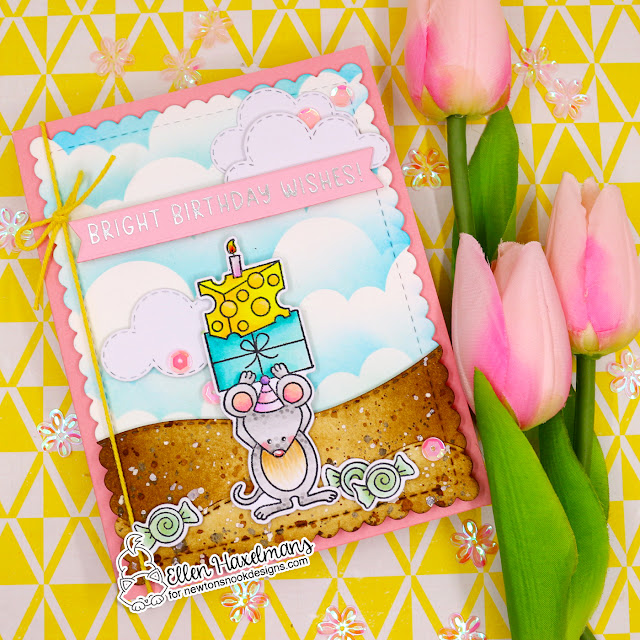
Happy Birthday Mouse!
Today Ellen has created an adorable mouse themed birthday card!
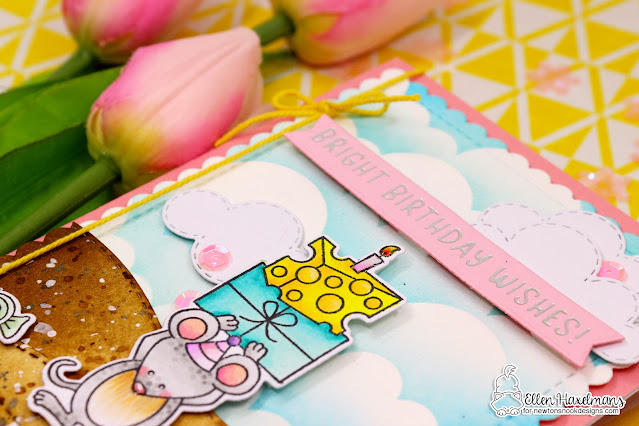
This fun card features the mouse with the gifts and cheese above his head from our Birthday Mice Stamp Set. So cute! She colored the image, adding fun little speckles to the mouse for texture and cut the image out using the coordinating Birthday Mice Die Set. She also adds bits of candy using our Newton's Candy Cane Stamp Se. See below for full color breakdown and details on how to create this adorable scene!
She also used our brand new Bright Sentiments Hot Foil Plates and our Banner Duo Die Set to create the lovely shiny birthday message in the banner! What a gorgeous bit of sparkle!

Here are some tips from Ellen on how to create this adorable card:
- (Left photo above): First I die cut the largest frame of the Frames & Flags Die Set and used the Clouds Stencil to create a pretty background. I start inking the panel at the bottom (tip: start blending of the edge of the stencil for the best results and a smoother blend). Once you have inked the first cloud, move the stencil up and start inking again and keep repeating this until you have filled the panel.
- (center photo above): Here you can see I die cut the largest frame again and then cut it again using the Land Borders Die Set. Next I inked it so it looks like sand. Later I die cut 3 clouds with the Sky Scene Builder Die Set. I also foiled the sentiment with the new Bright Sentiments Hot Foil Plates!
Turn on your hot foil machine and let it warm up. Lay your hot foil plate on the machine and trim your foil a little bigger than your hot foil plate. When the green button of the machine turns on, place the foil pretty side down on top of the plate. Than you place your cardstock on top. As the last step you place the shim and acrylic plate on top of the cardstock. After pressing the timer button, the light slowly will stop blinking, now you can roll the sandwich through a die cutting machine. - (right photo above): Here I colored the images. I used the Birthday Mice Stamp Set and Birthday Mice Die Set & Newton's Candy Cane Stamp Set for the candies.
COPIC COLOR SWATCH:
Violet: RV34, RV32, RV00
Purple: V04, V01, V00
Brown: E25, E23, E21
Yellow: YR18, YR13, YR06, YR20
Teal: BG49, BG15, BG32, BG11, BG10

To see more creations by Ellen, you can visit her over at her blog Crafty Ellen


No comments:
Post a Comment
Thanks for commenting! We love to hear what you think!