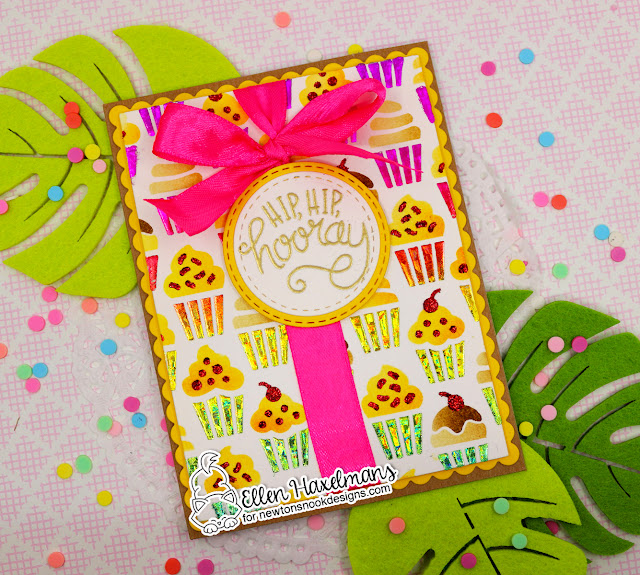
Hip, Hip, Hooray!
Today Ellen has created a fun cupcake card that is filled with sparkle and shine!
For this fun card she used our Cupcake Stencil Set to create the cupcakes. This stencil is a three piece set. On stencil one she used distress inks for the yellow tops. Then she used stencil two to add foil onto the cupcake bottoms. Lastly, she used stencil three with red glittery gel for the cherries and sprinkles. (see her project details at the bottom of this post).
After everything was dry, she cut out this fun pattern and added it over a yellow scallop edged frame that was die cut using our Frames & Flags Die Set. Then she added a big pink ribbon and the "hip, hip, hooray" sentiment from our Uplifting Wishes Stamp Set. The sentiment was cut out using circles from our Circle Frames Die Set and our Frames Squared Die Set.
Here is a close up so you can see all the sparkle!
It would be so much fun to get this card in the mail for a birthday or any other celebration!![]()
Details on the cupcake background from Ellen:
- (left photo) I used the first stencil and layer taped parts off. Later you can add distress ink. I taped a few things off and then applied transfer get over all the cupcake wrappers using stencil 2.
- (center photo)When it was dry I turned on the laminator and let it heat well. I applied foil (colored side up) put it in between parchment paper and used my laminator (ps. If you use the transfer gel duo you can also apply the foil with pressure by using your die cutting machine).
- (right photo) I applied red glitz glitter gel to add the last layer of the stencil to get the sparkly sprinkles.


stunning card !
ReplyDelete