Wednesday, March 31, 2021
Something to Perk Up Your Day Card by Samantha VanArnhem
Tuesday, March 30, 2021
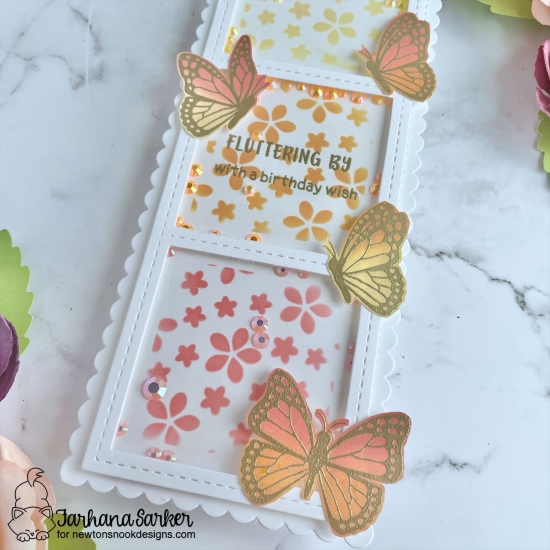
Fluttering By...Card by Farhana Rahman
Butterfly Slimline Birthday Card!
Monday, March 29, 2021
Thinking of You Card by March Guest Designer Jane Trivedi
After the blending was done, I colored the images using a fine water brush and Zig clean color brush markers. Next, I used a black waterproof pen to go over the images adding thicker lines in some areas to create the illusion of shadow. Then, I added white gel pen highlights to the images and surrounding ink blended areas for a whimsical touch!
To create the textured background, I used the Serene Stripes Stencil and white modeling paste on a piece of heavy weight watercolor paper. After the panel was dry, I cut the embossed panel to 5 inches by 3.75 inches. The ink blended panel was also cut and mounted on foam tape and adhered to the textured background. Sentiment from the Woodland Spring Stamp Set was white heat embossed on black cardstock and adhered to the front of the card using foam tape.
The entire card front was mounted to a piece of light grey cardstock and then to an A2 white card base and that completes the card!
Thank you so much for stopping by today! Big thanks to Newton’s Nook Designs for having me as a guest this month!
Happy crafting everyone!
Friday, March 26, 2021
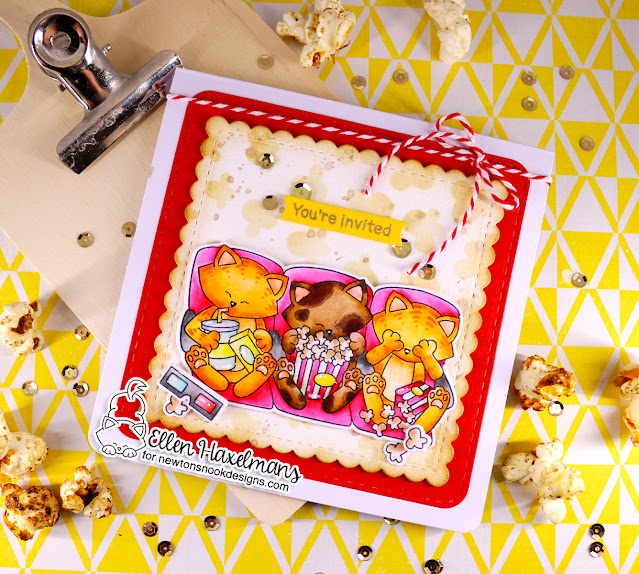
Movie Night Card and Box by Ellen Haxelmans
How About a Movie Night?!
Do you love movies? Today Ellen had created a set of projects that is perfect for a movie night! She started out with a card featuring the trio of kitties in a movie theater from our Newton's Movie Night Stamp Set.
Isn't the coloring on those kitties amazing? She also colored a pair of 3D glasses and some popcorn kernels and cut the images out using the coordinating Newton's Movie Night Die Set. For the background she used our Popcorn Stencil with light colored ink to create a popcorn pattern on scalloped square that was cut out using our Frames Squared Die Set. She also cut out a red square with rounded corners using the same die set to frame it.
Inside the card, is the fun "movie night" sentiment, added onto a tag shape (cut out using our Framework Die Set). She also added more popcorn, cut out using the bonus shape on the coordinating Newton's Movie Night Die Set.
To make it even more fun, she created a decoration for a popcorn box! For this she cut out shapes using our Circle Frame Die Set and Heart Frame Die Set. Then she used the same Popcorn Stencil for the background and added the sentiment, 3D glasses, popcorn and stars using our Newton's Movie Night Stamp Set.
![]()
Instructions from Ellen:
- (left photo) The images from the Newton's Movie Night Stamp Set are colored with Zig Clear Color Brush Markers, listed below:
1. Orange Cat: No.052 Bright Yellow, No.070 Orange, No. 72 Beige and No.222 Pink Flamingo
2. Brown cat: No.064 Oatmeal No.068 Deep Brown and No 222 Pink Flamingo
3. Seats: No.022 Carmine Red and No.095 Dark Grey
4. Glasses: No.036 Light Blue, No.022 Carmine Red and No.095 Dark Grey
5. Food: No260 Deep Red, No.049 Green Shadow, No067 Mustard, No050 Yellow, No.036 Light Blue and No.092 Blue Gray - (center photo) Cut out a square and heart shape. Use the Popcorn Stencil with Antique Linen Distress Ink. Afterwards you ink the sides with Vintage Photo Distress ink; this gives it a light burned look (yummy). As last step I sprinkled some drops on top. The same inks where used on the popcorn shapes.
- (right photo) As last step I die cut out some colored paper. The colors I used were picked to match with the image and popcorn box: red, white and yellow.
Thursday, March 25, 2021
Squeeze the Day Card by Samantha Mann
Squeeze the Day!
Wednesday, March 24, 2021
Butterfly Mug Card by Amanda Wilcox
Decorate a Custom Mug!
Tuesday, March 23, 2021
Welcome Spring Lily Card by Maria Russell
Welcome Spring!
Monday, March 22, 2021
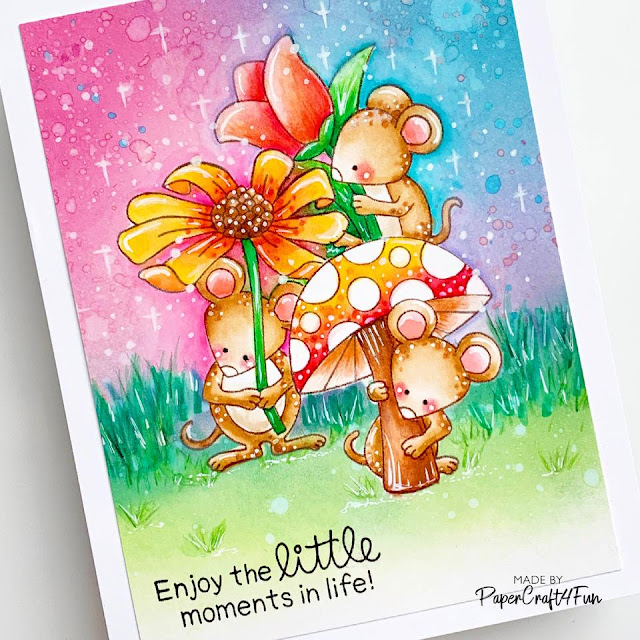
Enjoy the Little Moments in Life Card by March Guest Designer Jane Trivedi
To start, I stamped the image of the mouse under the mushroom using Versafine clair ink in the color acorn. Then, I stamped the image on masking paper and cut it out using scissors. I stamped and masked all the images in a similar manner. Next, I used distress oxide inks in picked raspberry, spun sugar, milled lavender and broken china to blend the background. The background was then splattered with water using a thin paint brush.
After dabbing off the excess water using a dry paper towel, I removed the masks. The images were then colored using zig clean color brush pens and accented using Inktense pencils and a white gel pen. The background grass was filled in by using flicks of my zig pens, Inktense pencils and a white gel pen. Distress oxide ink in twisted citron was also used to fill in the white space at the bottom of the card, but I did leave a small area of white space for the sentiment.
The sentiment was stamped using the Garden Mice Sstamp Set in versamark black ink. After the panel was dry, I cut the card down to 3.75 inches by 5 inches and mounted it on a white A2 card base. And that completes the card!
I hope this card inspires you to pull out different art mediums from your stash and mix them together for a unique and fun look to your projects!
Thanks so much for stopping by today!
-Jane
Friday, March 19, 2021
2021 Spring/Summer Coffee Lovers Blog Hop
Thursday, March 18, 2021
Piles of Springtime Smiles Card by Zsofia Molnar
Piles of Springtime Smiles!
We hope that you enjoyed this fun card by Zsofia! You can find more of Zsofia's creations and say hello to her over at her blog, Safsafdesign.
Wednesday, March 17, 2021
Wishing You a Beautiful Day Card by Ellen Haxelmans
A Beautiful Butterfly Hello!
Today Ellen has created a lovely butterfly card that is perfect for sending a happy hello to a friend! She featured butterflies stamped from our Monarchs Stamp Set in bright pink ink. These fun bright butterflies are so pretty when they are layered over several layers of neutral colored patterned papers.  She also used our Framework Die Set to to create some of the paper layers and added the "hi" for a touch of sparkle using letters from our Essential Alphabet Die Set. What a beautiful combination of elements!
![]()
How to create this card:
- (left photo) I die cut out one rectangular piece and inked the sides of the paper. After that I die cut out two frames from old pattern paper using the Framework Die Set.
- (center photo) Afterwards I stamped the sentiment on the label. For that I used gold embossing powder. The word “Hi” is cut out from glitter paper and the Essential Alphabet Die Set.
- (right photo) As last step I stamped the butterflies from the Monarchs Stamp Set and die cut them with the Monarchs Die Set. The inner portion of the wing I colored with soft pink Copic Markers.


