Hi there! I'm Farhana and I've been crafting for almost 10 years now! It's always been paper crafts, transitioning from scrapbooking to cardmarking. Newton's Nook Design stamps were some of my firsts from back in 2013, so there are many retired sets in my stash. Inky Paws card challenge was also the first challenge that I ever did! After break, I have the time to enjoy them again!
I'm a huge fan of florals and pumpkins, so I am beyond excited to be the guest designer for one of my favourite brands! Thank you Jen and Samantha for making a dream come true!
Blog: Everyday Engineered
Instagram: everydayengineered

Happy Monday y’all! I’m so excited for today’s post as my dream to design for Newton’s Nook Designs has come true! I’ll be sharing every Monday in October, so please stop by to see what I have to share!
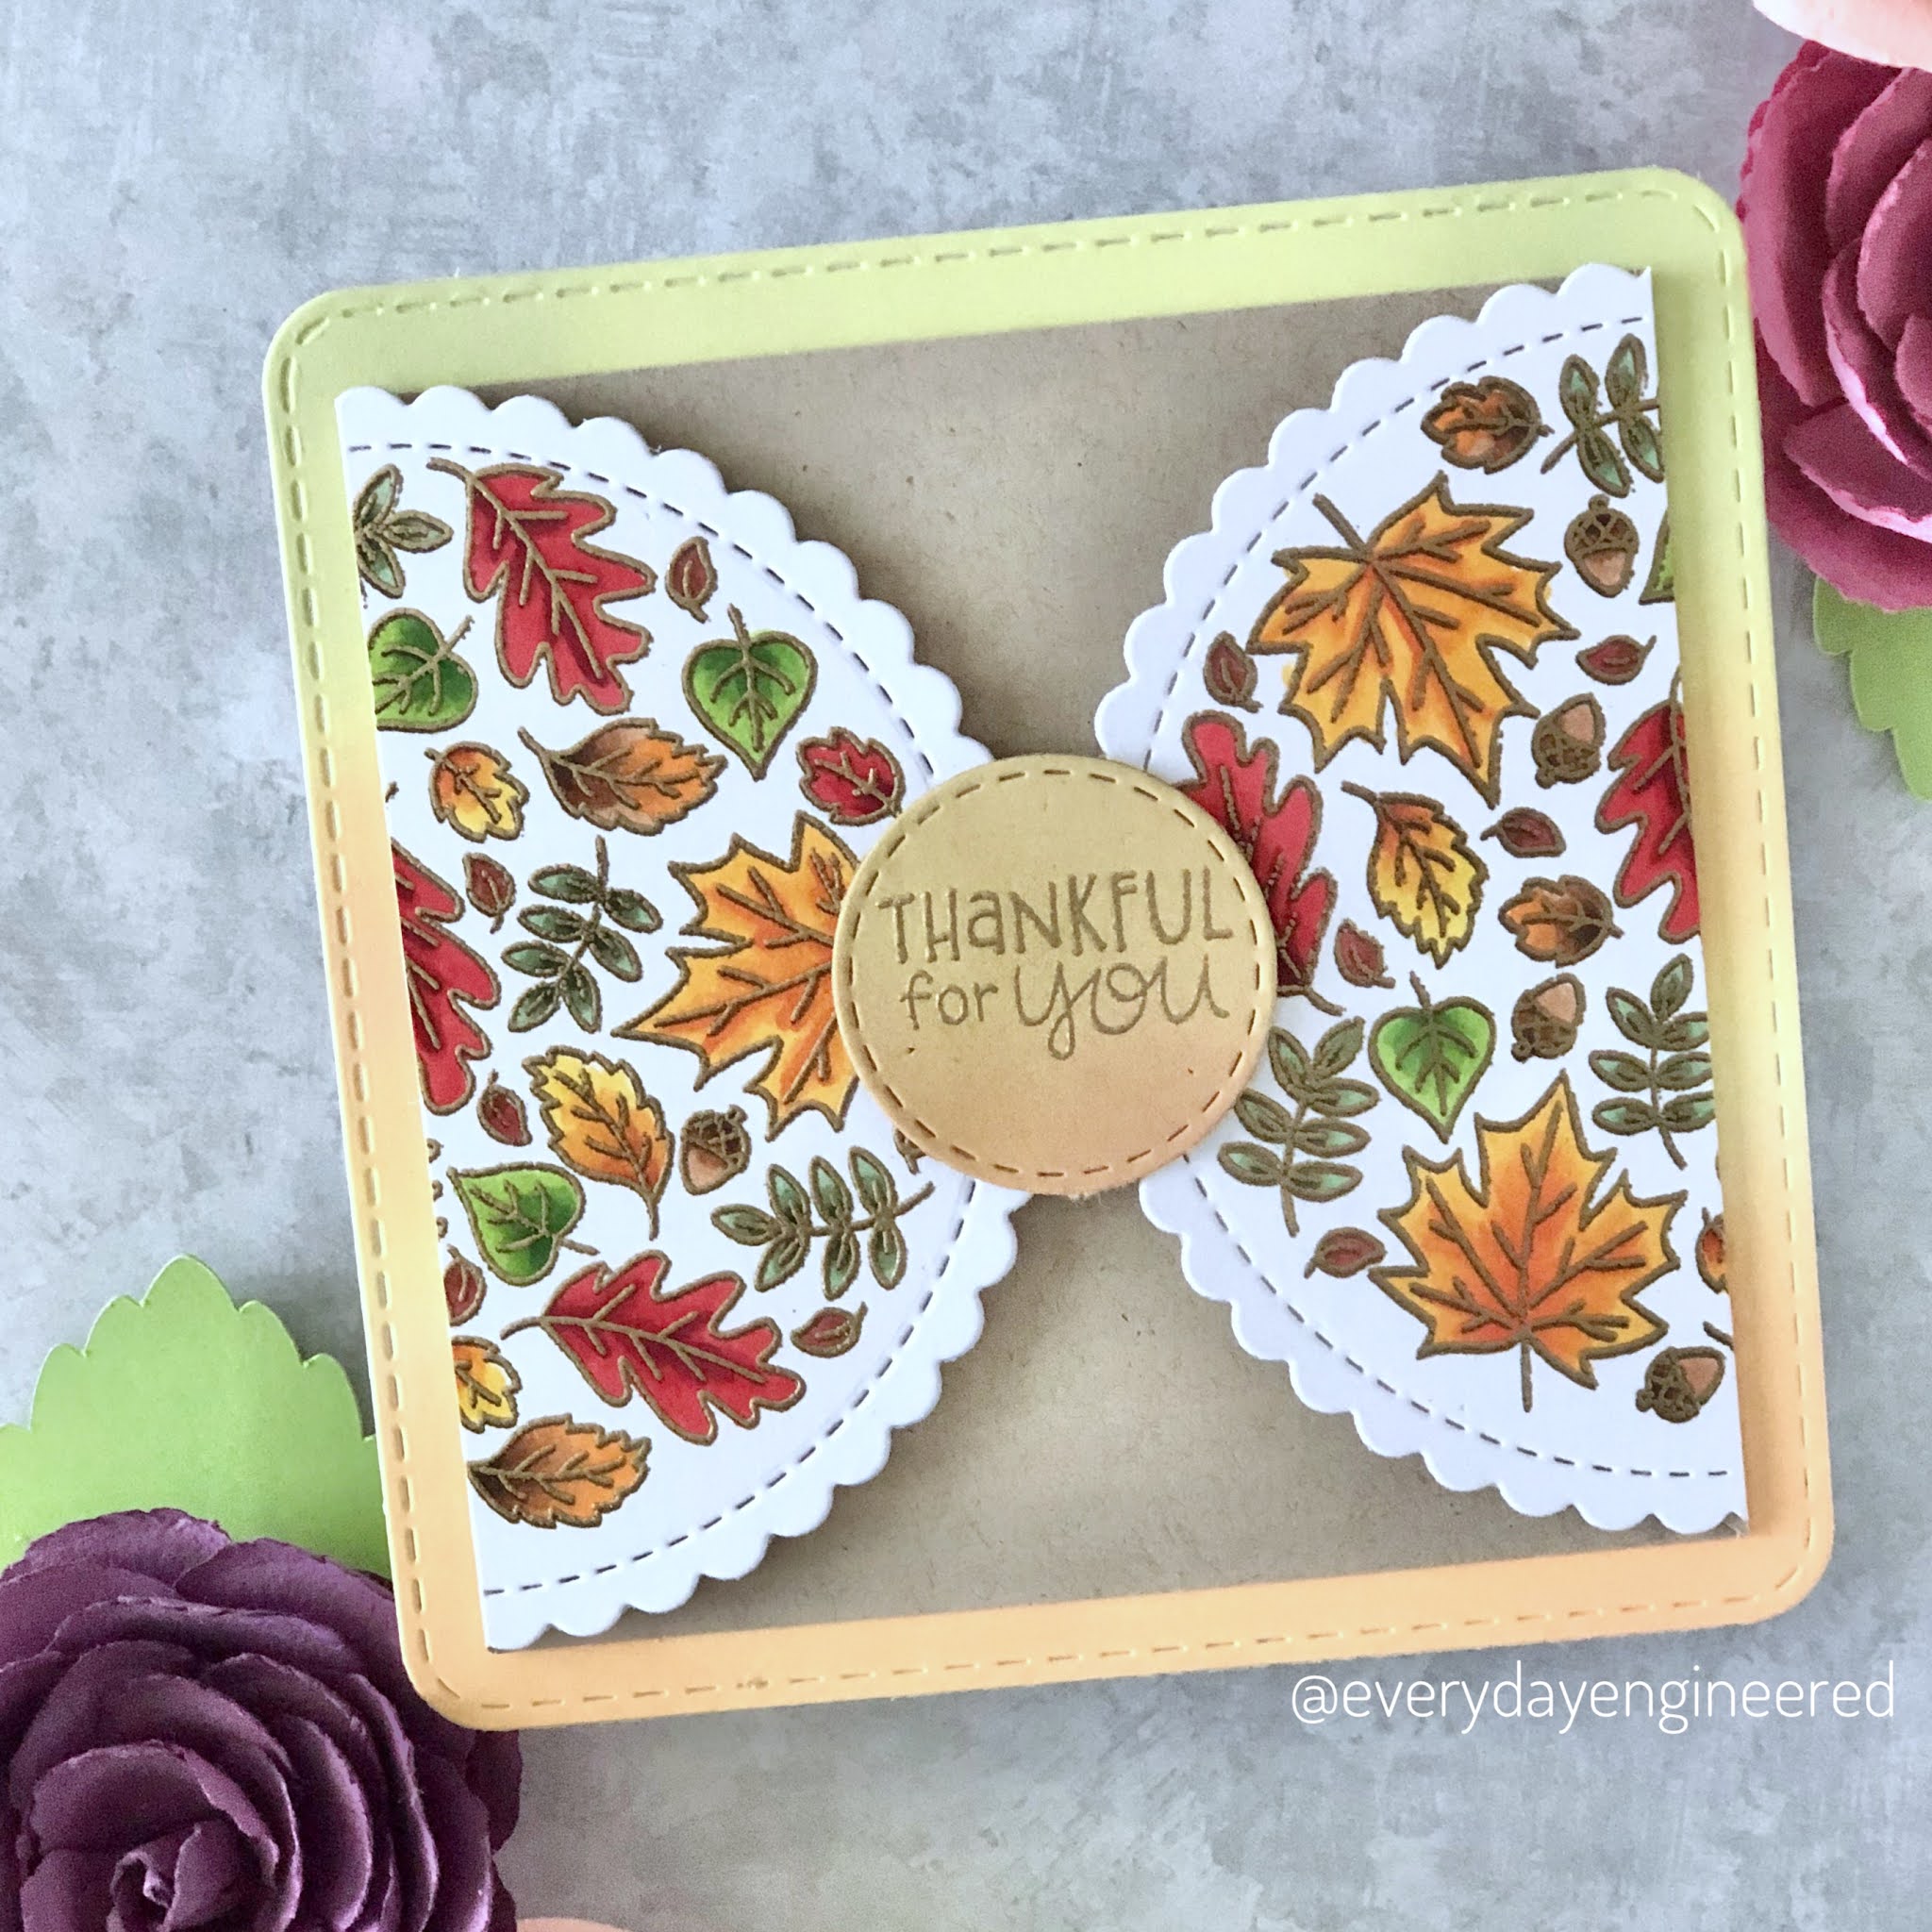
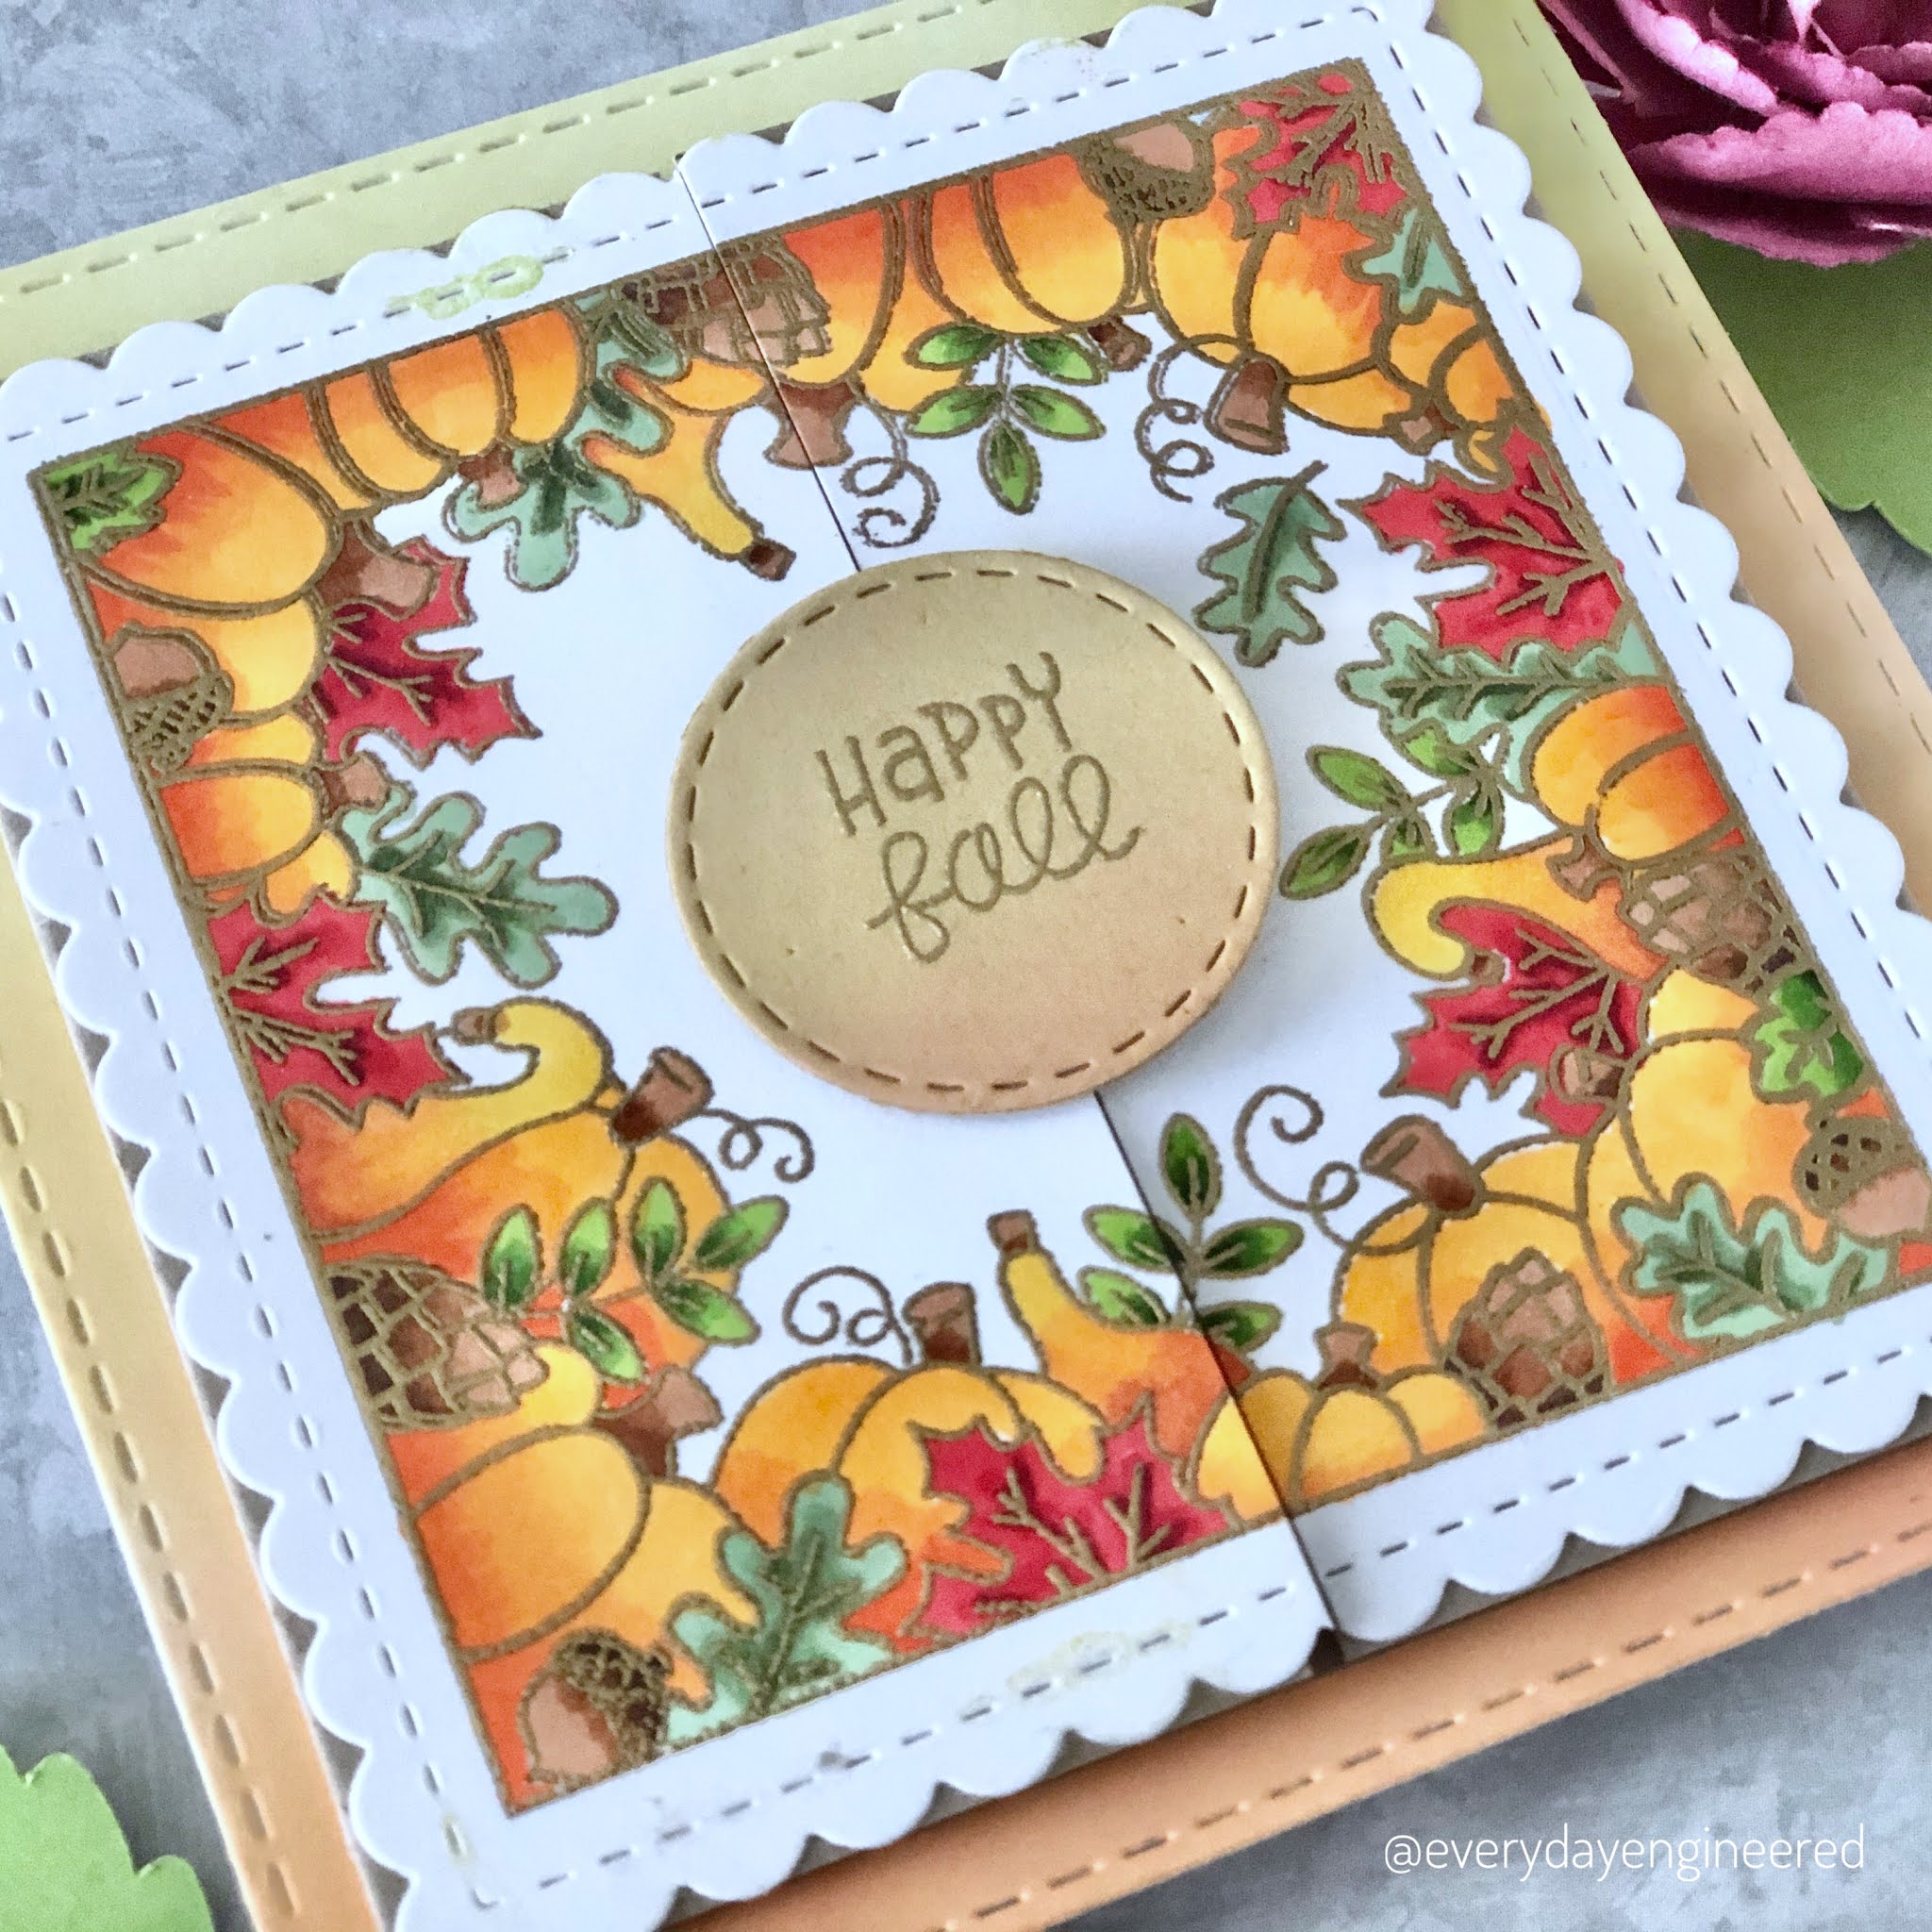
Today I’m sharing a pair of mini gatefold cards, I made using the Fall Fringe and Fall Roundabout Stamp Sets. The final card size is shy of 5 x 5 inches, but I said mini because the area to write a message is smaller than an A2 card.
I started by stamping both the images from the Fall Fringe and Fall Roundabout Stamp Sets on to heavyweight white cardstock with brown copic friendly ink. After coloring them (I used a ton of colors! I’ll list them at the end of the post!), I re-stamped the image using embossing ink, and heat embossed with gold (Remember not to move your stamp before embossing!). Then I die cut them using the Circle Frames and Frames Squares dies, and cut them in half with a paper trimmer.
For the card base, I cut squares from the same heavyweight white cardstock and ink blended them lightly to match the colored images (I used scattered straw, dried marigold and shabby shutter distress oxide inks). Then I created the gatefold part of the card from 4 x 5 inch pieces of kraft card stock, scoring a half inch from each end. Lastly, before assembling the cards, I ink blended the same inks as the card base on to some scrap kraft cardstock, and embossed sentiments from the Fall Fringe Stamp Set, and cut them out using a smallest stitched circle from the Circle Frames Die Set dies.
Now, we can finally assemble the card! I started by adhering the cut colored images to the shorter flaps of the kraft gatefold card using double sided tape. For the circle card, I flipped it, do the center of the circle was adhered to the creased edge. Using some more double sided tape I adhered the gatefold card to the ink blended card base. Lastly for the sentiment I used a little foam tape and placed it in the center of the flaps.
I hope all that made sense! If not please feel free to send me a message on Instagram and I’ll be happy to help you out! And don’t forget about the Inky Paws Challenge, here’s the first card I made (you can make up to 3 cards!)
And, lastly! Here are the copic combos that I used : YR07-04-Y17, YR18-15-Y15, R89-27-24, YG67-17-03, G99-94-21, E79-37-33-YR04.
Thanks for stopping by and I’ll see you next week!


Beautiful work TFS and congrats on your Guest Position!
ReplyDeleteThanks so much Gail!
Deleteso pretty!
ReplyDelete